How to Upload a Markdown Post to a GitHub Pages Blog
A step-by-step guide to uploading a Markdown post to your GitHub-hosted blog
How to Upload a Markdown Blog Post to a GitHub Pages Blog
So, you’ve got a blog hosted on GitHub, and you want to add a new post in Markdown format? Don’t worry—I’ll walk you through the process step by step. Even if you’re new to GitHub, you’ll be able to do this easily!
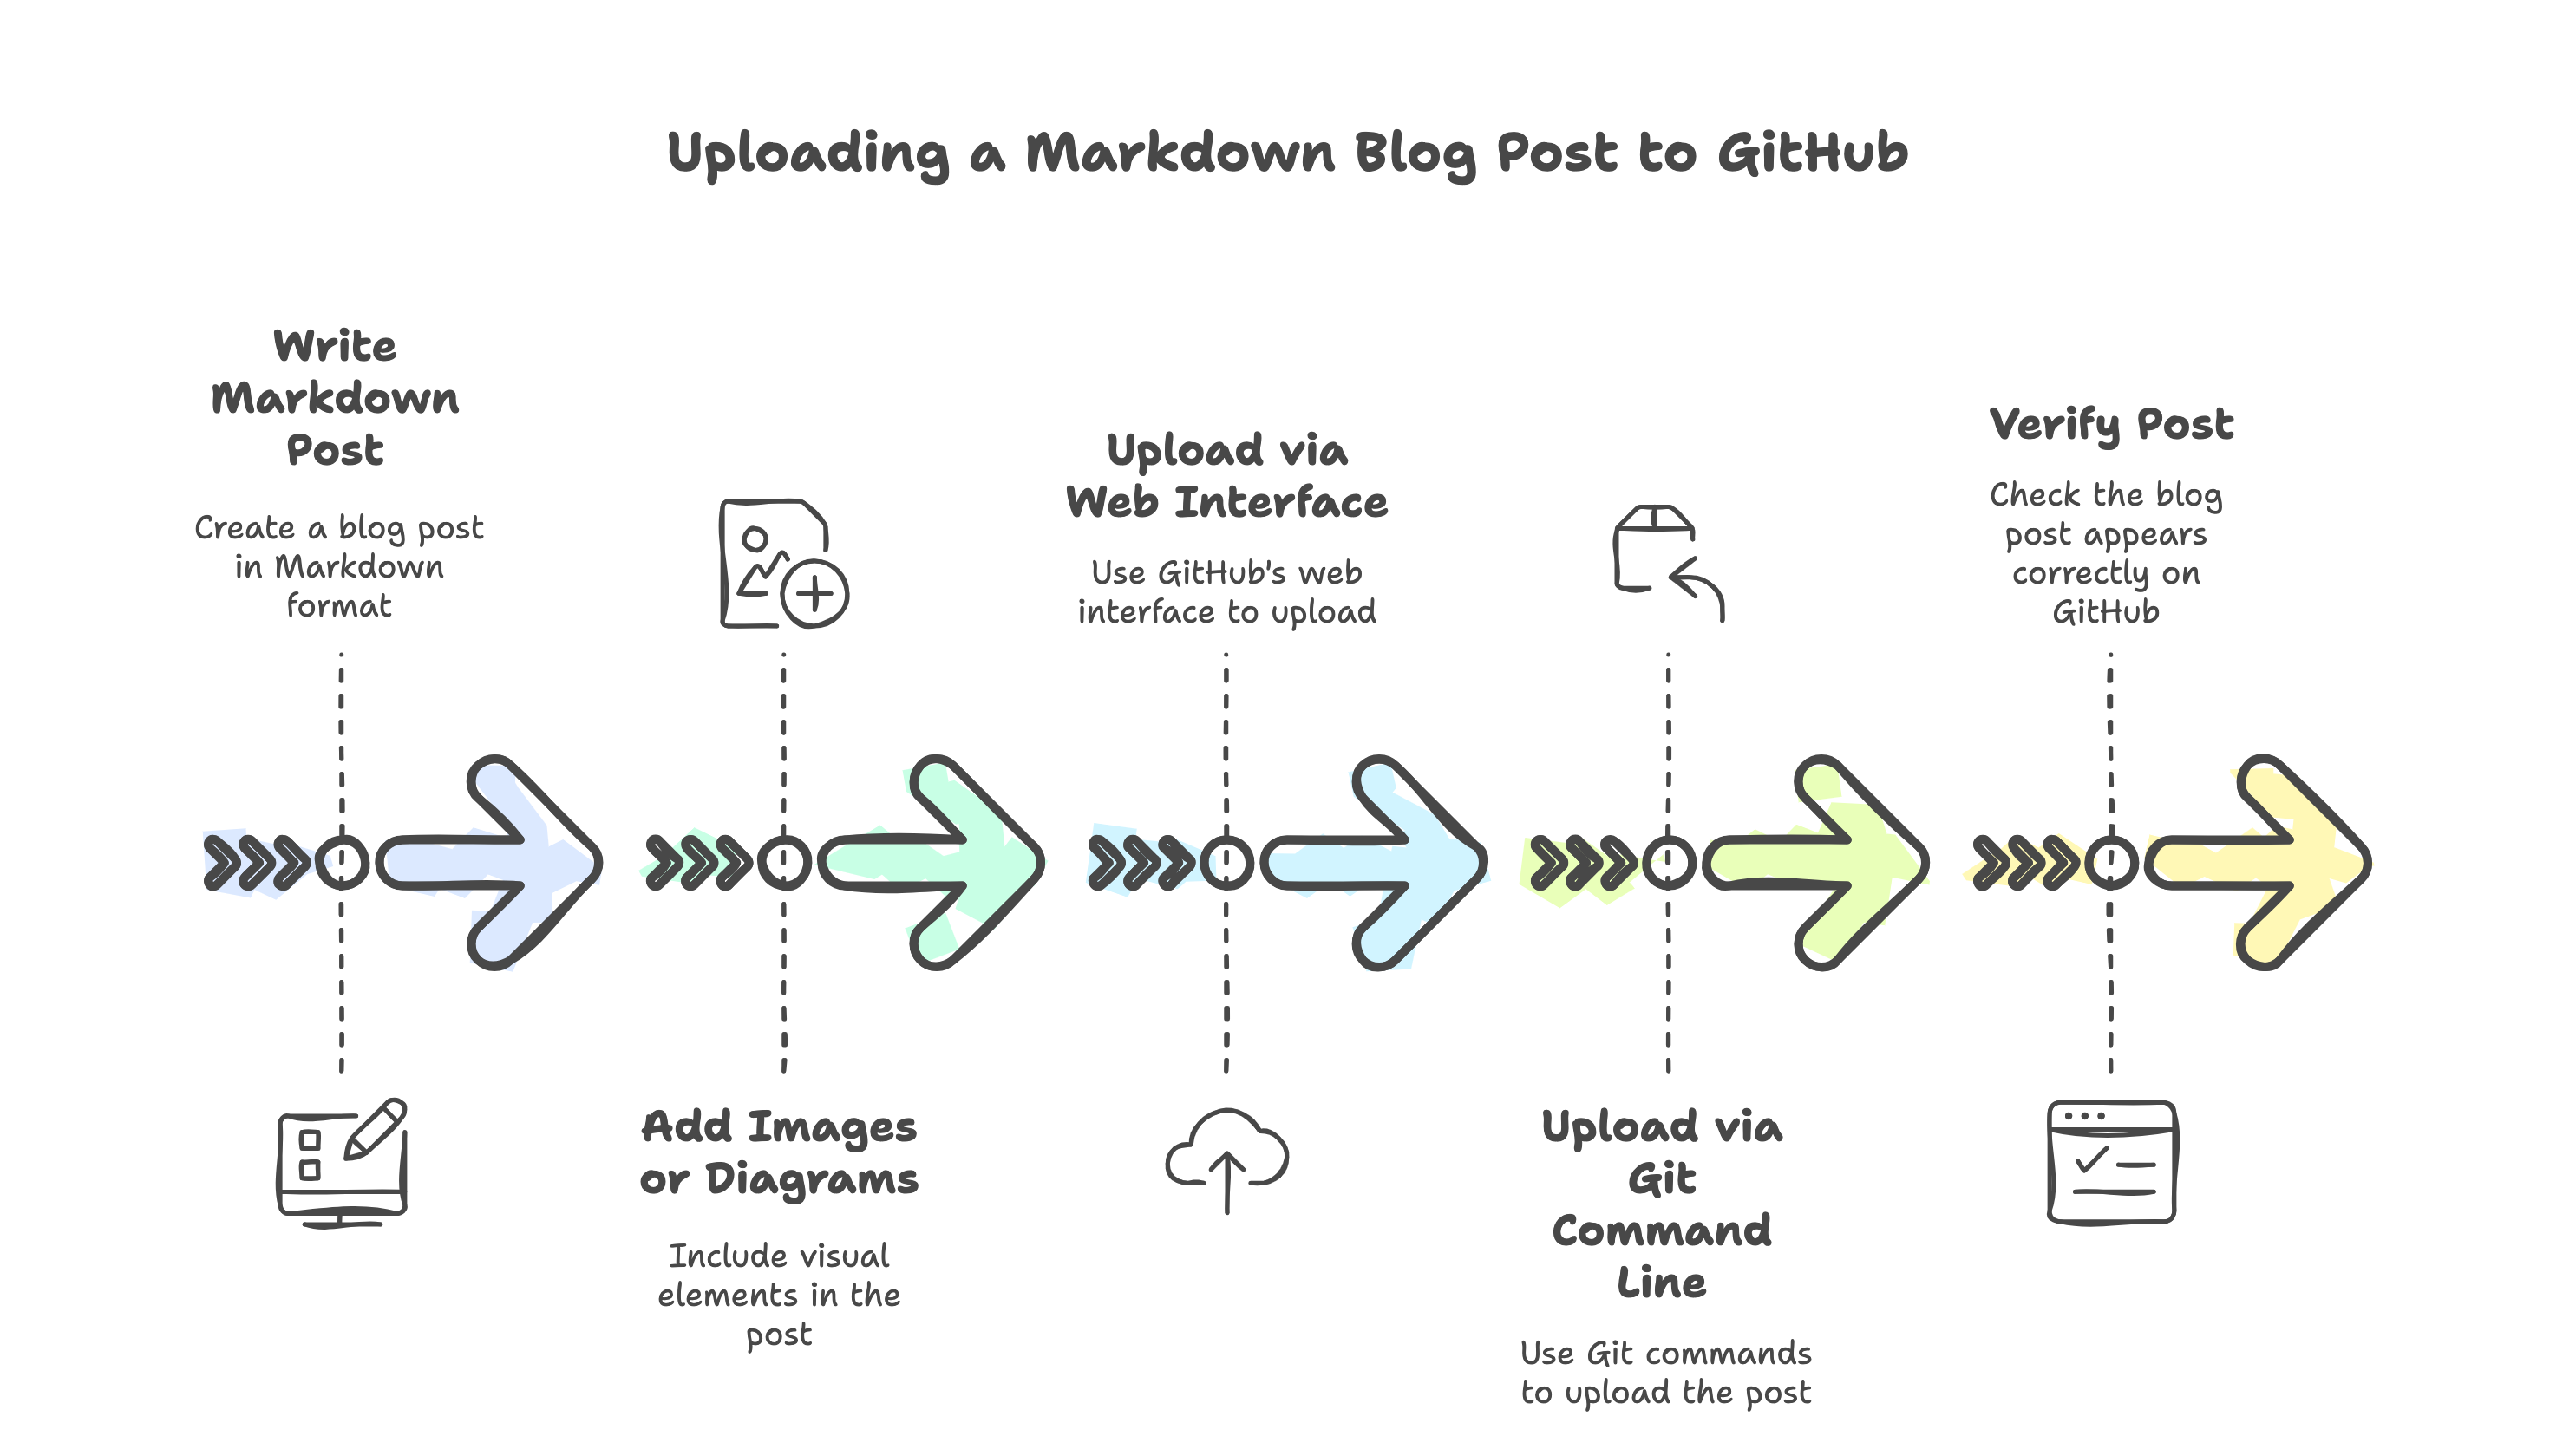
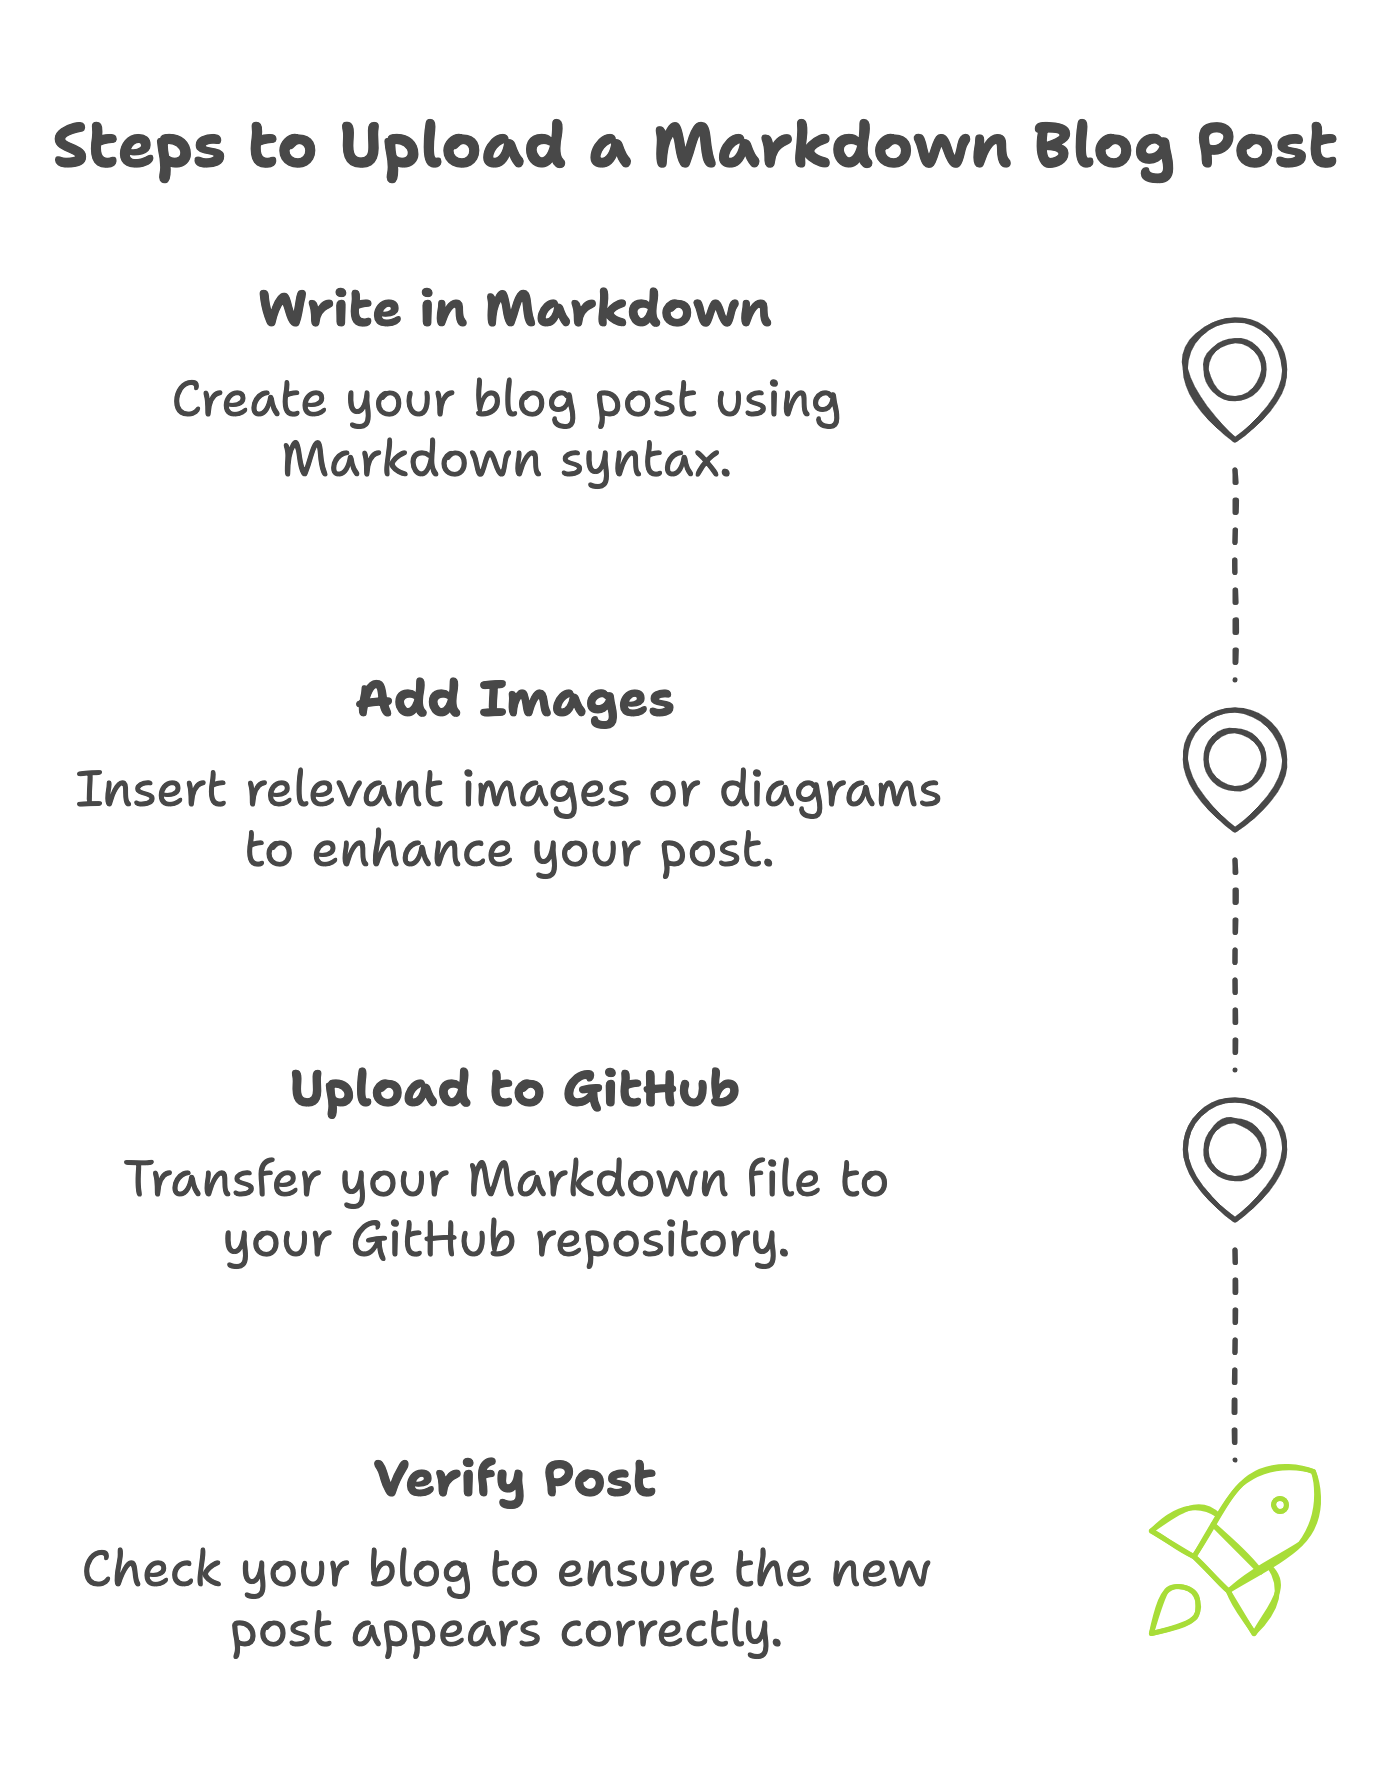
Step 1: Write Your Post in Markdown
First, create a new Markdown (.md) file using a text editor like VS Code, Sublime Text, or even Notepad.
A basic blog post should include a front matter section at the top, which looks something like this:
1
2
3
4
5
6
7
---
title: "My Test Post"
description: "This is a test post to demonstrate how to upload a Markdown file to a GitHub blog."
categories: [Tutorial]
tags: [writing]
render_with_liquid: false
---
After this, you can write your blog content below.
Step 2: Add Images or Diagrams
You might want to include diagrams or images in your post. If so, you can either upload images manually to your repository or use an online image host like Imgur.
For example, if you have an image saved in your blog’s /assets/images/ folder, you can add it to your post like this:
1

Diagram 1: GitHub Blog Structure
(This diagram should illustrate the typical folder structure of a GitHub-hosted blog, including _posts/, assets/, _config.yml, and other important files.)
Diagram 2: The GitHub Commit Process
(This diagram should show the flow of committing changes: editing a file → saving changes → committing with a message → pushing to GitHub.)
Step 3: Upload Your Markdown File to GitHub
Option 1: Using the GitHub Web Interface
- Go to your GitHub repository.
- Navigate to the
_posts/directory (or the folder where your blog stores posts). - Click Add File → Upload files.
- Drag and drop your
.mdfile, or click Choose your files to select it manually. - Scroll down, add a commit message (e.g.,
"Added a new blog post"), and click Commit changes.
Option 2: Using Git (For Those Familiar with the Command Line)
If you’re comfortable with Git, you can upload your post with these commands:
1
2
3
git add _posts/my-test-post.md
git commit -m "Added a new blog post"
git push origin main
Step 4: Verify Your Post
Once the file is uploaded, check your blog to see if the new post appears. If it doesn’t show up immediately, try clearing your browser cache or checking GitHub Actions if your blog is built using Jekyll.
That’s it! You’ve successfully uploaded your Markdown post to your GitHub-hosted blog. 🎉
If you run into any issues, let me know in the comments, and I’ll be happy to help! 🚀